
I last messed around with FilmLab back in 2017 when it was in beta and only on iPhones (and maybe Android, though I seem to recall there were problems with getting it ported to Android). I wasn’t particularly impressed, but I also wasn’t really doing it right and wasn’t convinced that a lowly phone could beat the D7000-based Scan-O-Matic X.
But eventually—I’m not quite sure when—FilmLab came to MacOS and Windows. I initially balked, as it was only available by subscription and I’m not a fan of renting anything smaller than an apartment, especially something completely intangible like software. But Abe Fettig, the developer, listened to complaints, and in August (2020), a single “lifetime purchase” option came available alongside FilmLab 2.0. As one of the kickstarterers of the original iPhone software, I had a discount code, so I bought it with plans to integrate it into the long-delayed update to my scanning rig…
Well… the scanning rig update was a failure (for now), but FilmLab has some possibilities.
Full disclosure: I originally wrote a long, gushing review of FilmLab and what follows is a more expanded and restrained version of the first draft. I’ve done some more playing around with FilmLab and I have some additional thoughts (and concerns/wonders), and my enthusiasm has been tempered some.
tl;dr: FilmLab 2.0 (2.0.1) is a total game-changer for me has the potential to change the way I scan and process color negative films, and if you process your own film and dslr-scan your negatives, do yourself a favor go check it out.
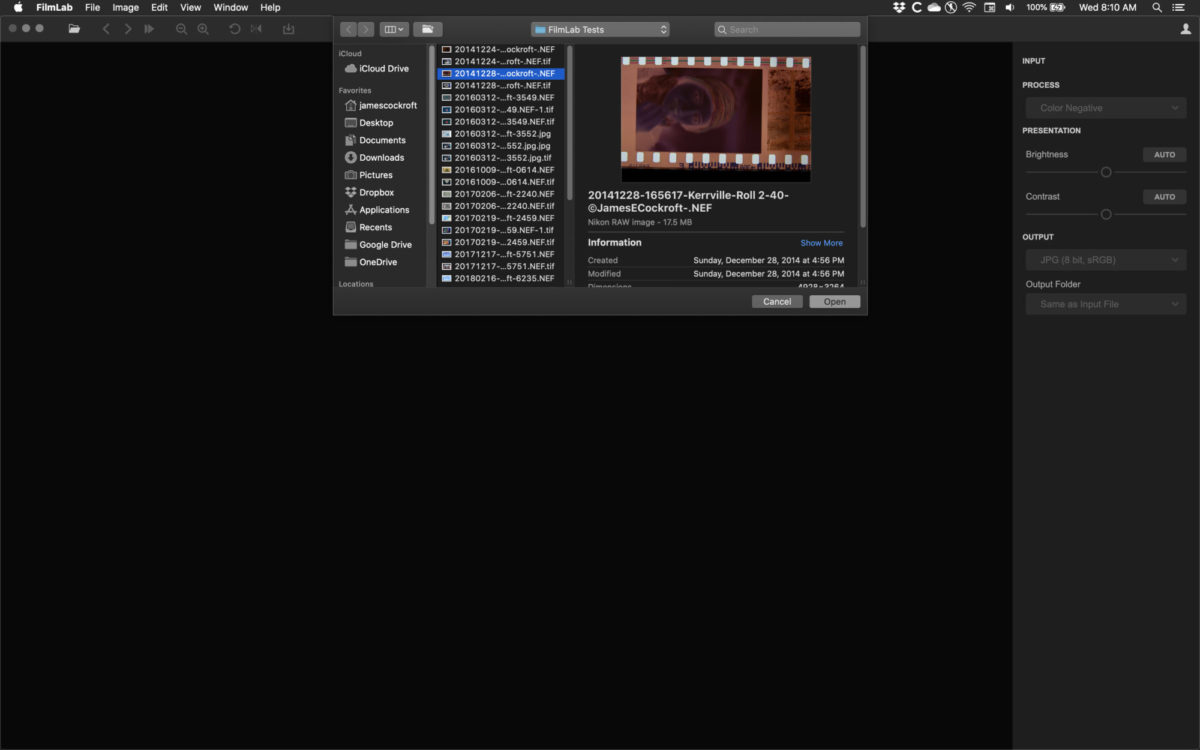
On the surface, FilmLab is a very basic application: you point it at a folder of some scans from your phone or dslr, and, well, FilmLab pretty much does the rest.
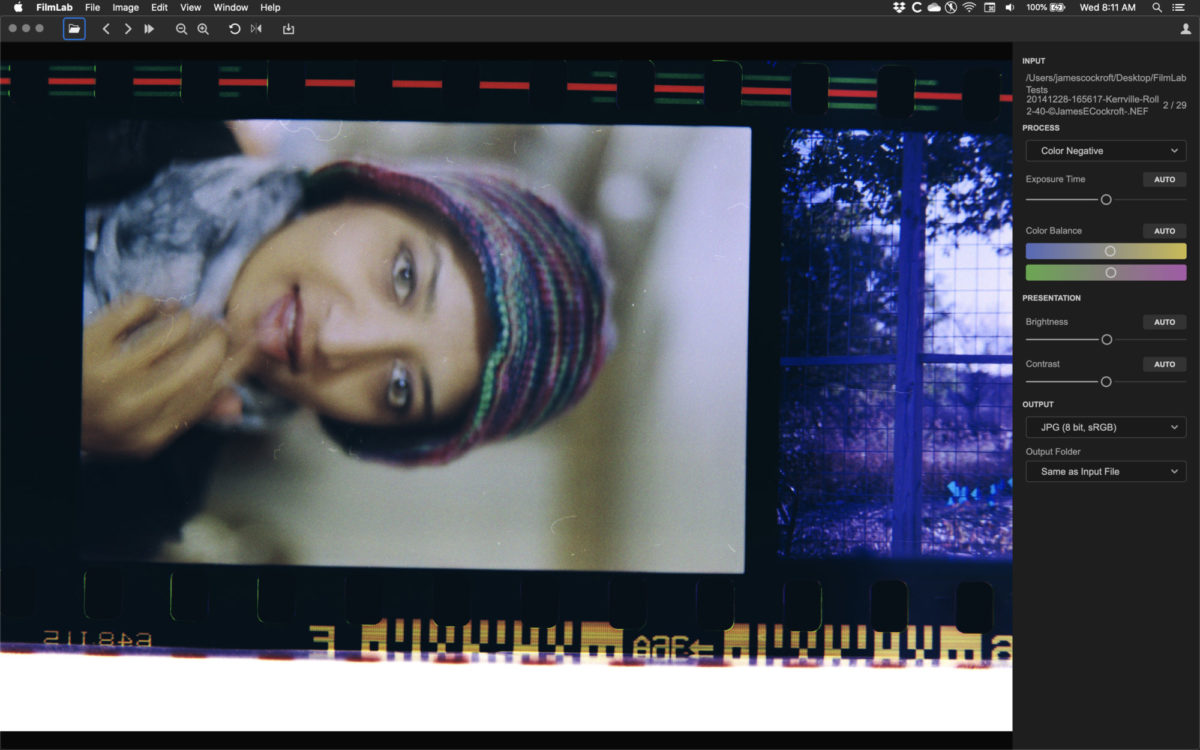
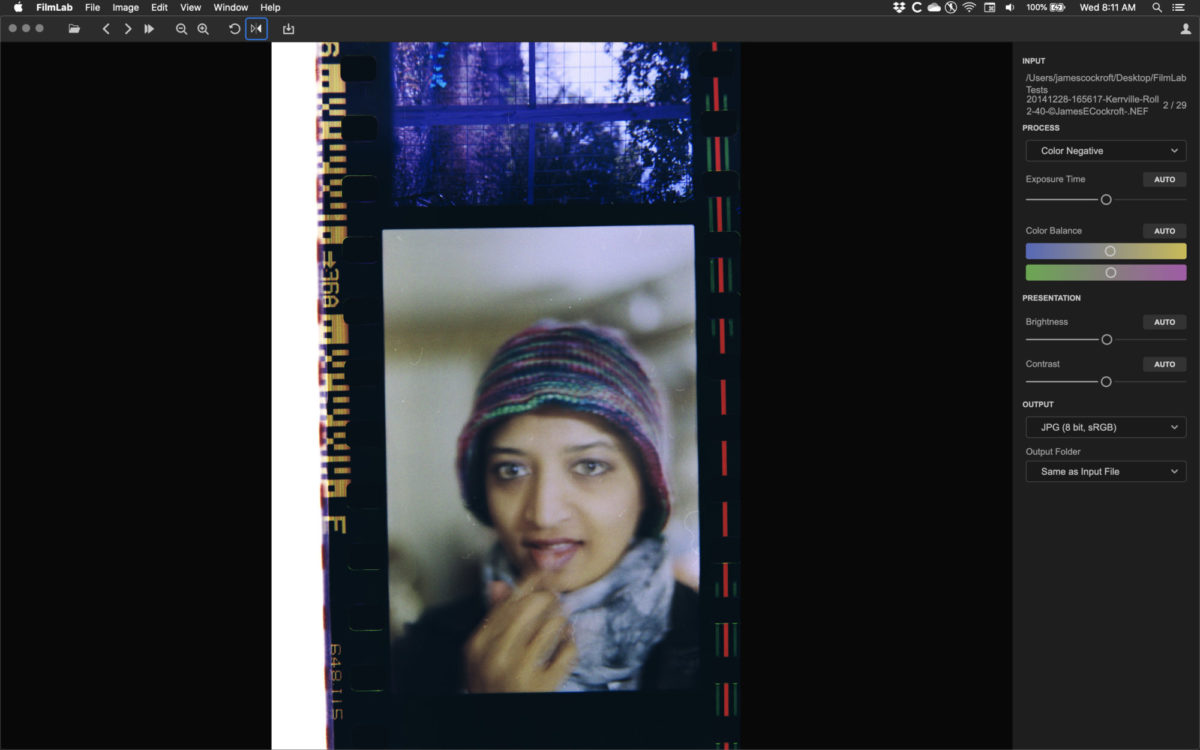
As long as your film is more or less standard (not super-expired or very poorly stored or one of the novelty specialist stocks), Film Lab’s Auto modes for its various settings are probably adequate. If not, or even if it is, you can flip, rotate, and fiddle with the exposure, tint/temperature balance, brightness, and contrast sliders to get something that you like a little better.

From there, you can export as jpeg (8bit) or tiff (8bit or 16bit) and share wherever. (At time of writing, Capture One 20 doesn’t like the 16bit tiffs from FilmLab, so I stick with 8bit tiffs to hopefully get a bit more leeway to play with the results in Capture One.)
I’ll get into more of that later.
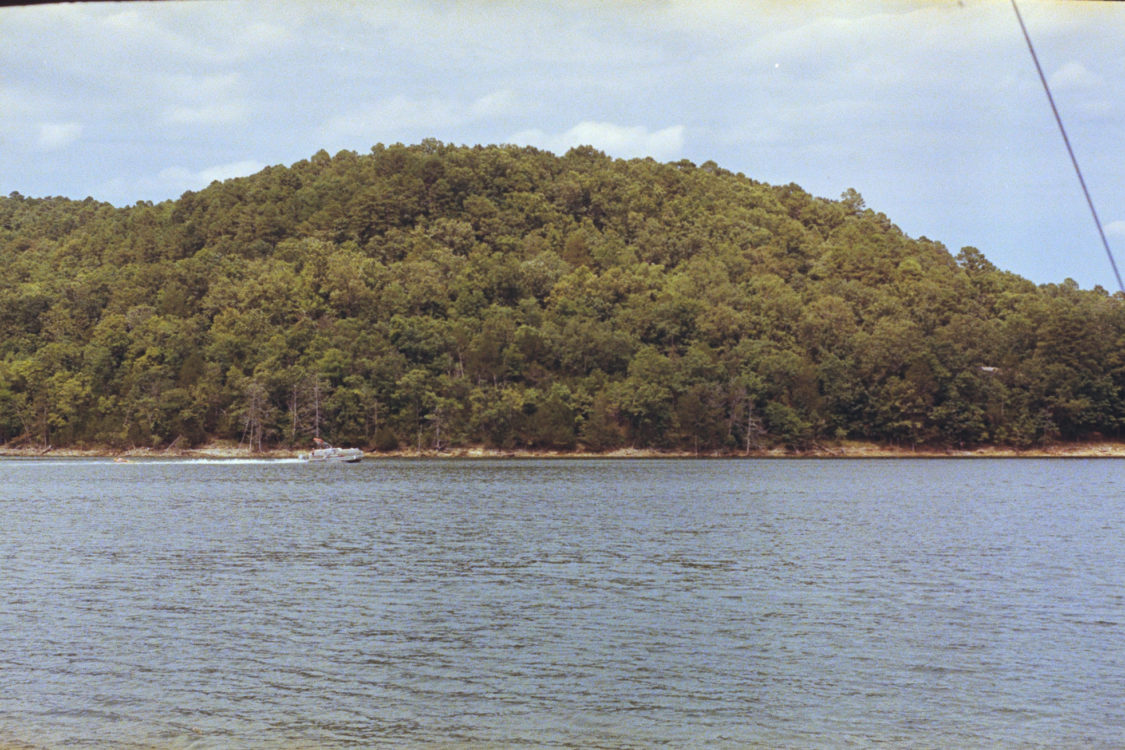
For now, let’s take a quick trip back to Beaver Lake, where I spent an hour or so back in August. I processed the original scans my usual way. In recent months, I’ve had troubles getting Lomography Color Negative 400 color-corrected satisfactorily. I’ve mentioned this in previous posts. In fact, I mentioned it in the original Beaver Lake post. It took me a long long time to find something like satisfactory color, but I was sure it wasn’t quite right.
Let’s see what FilmLab can do with them.
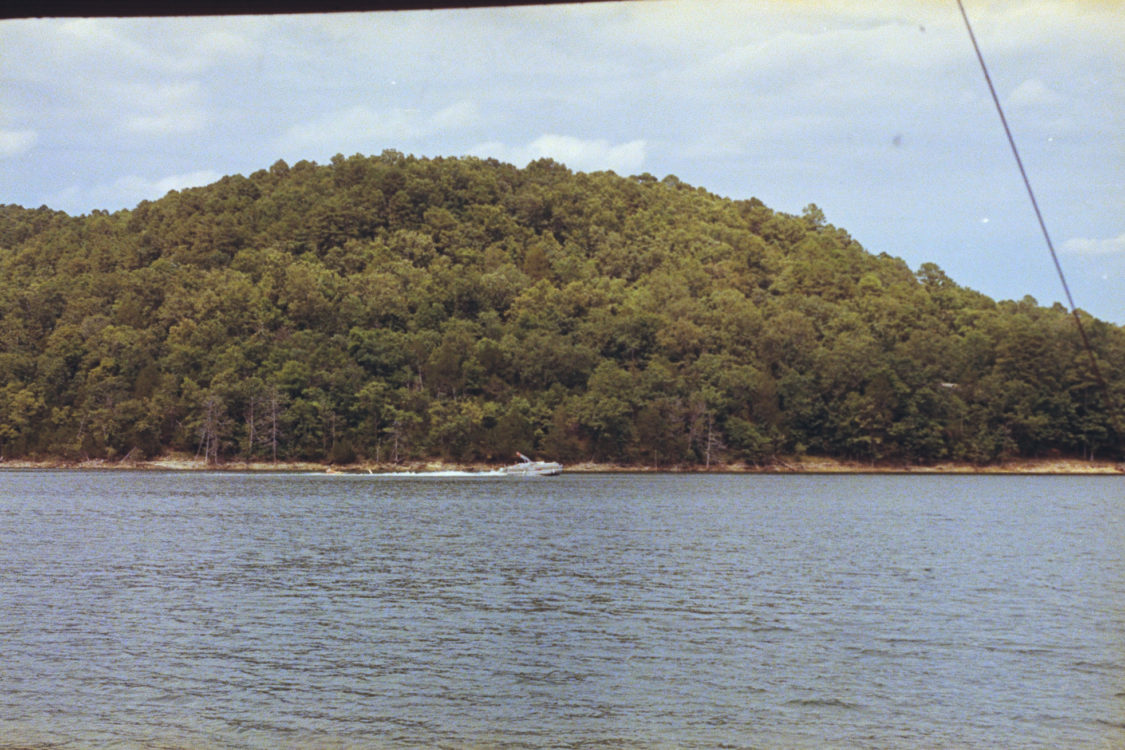
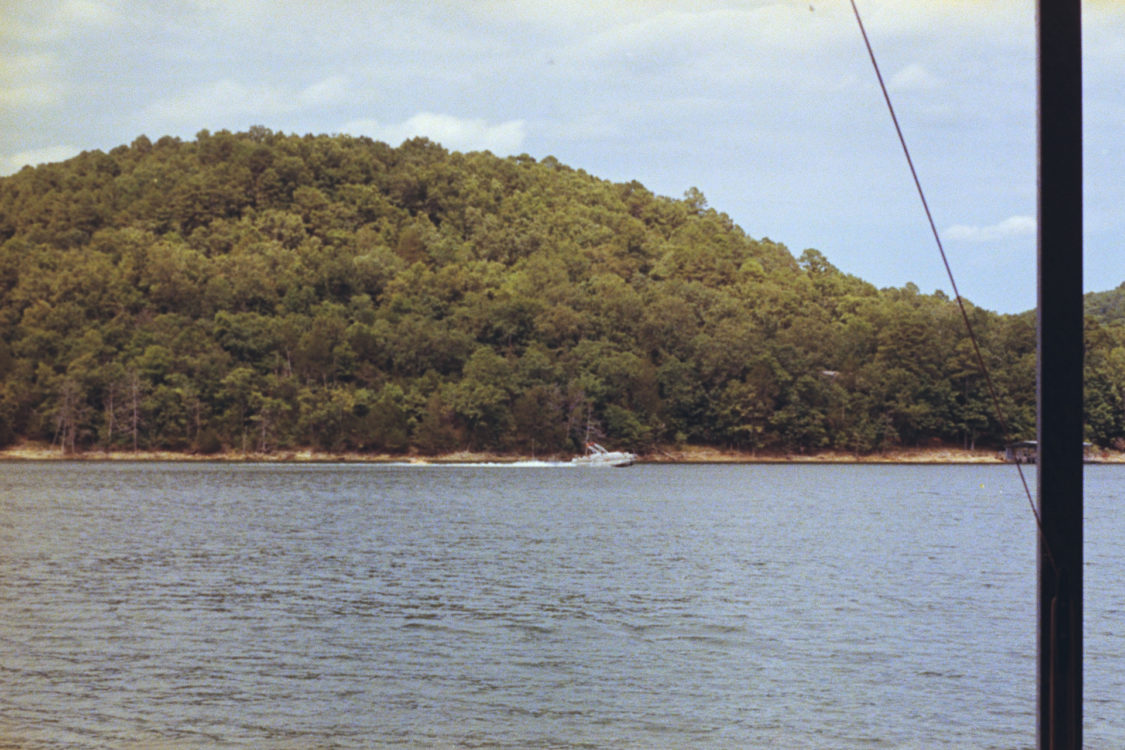
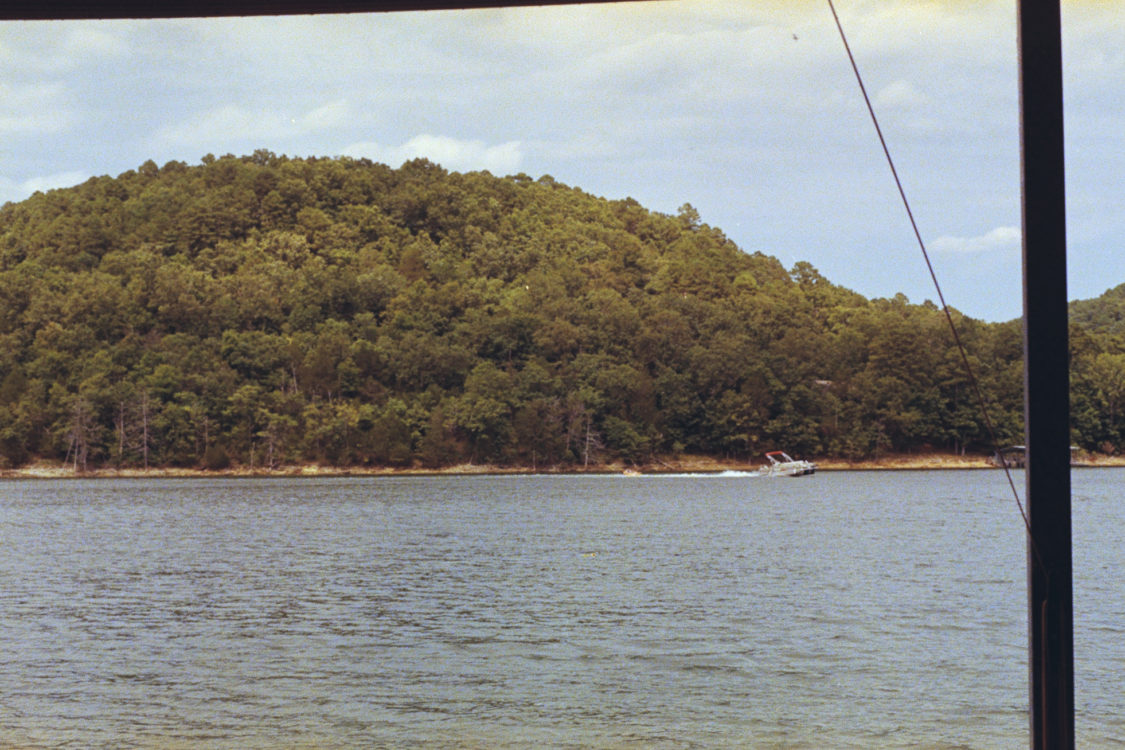
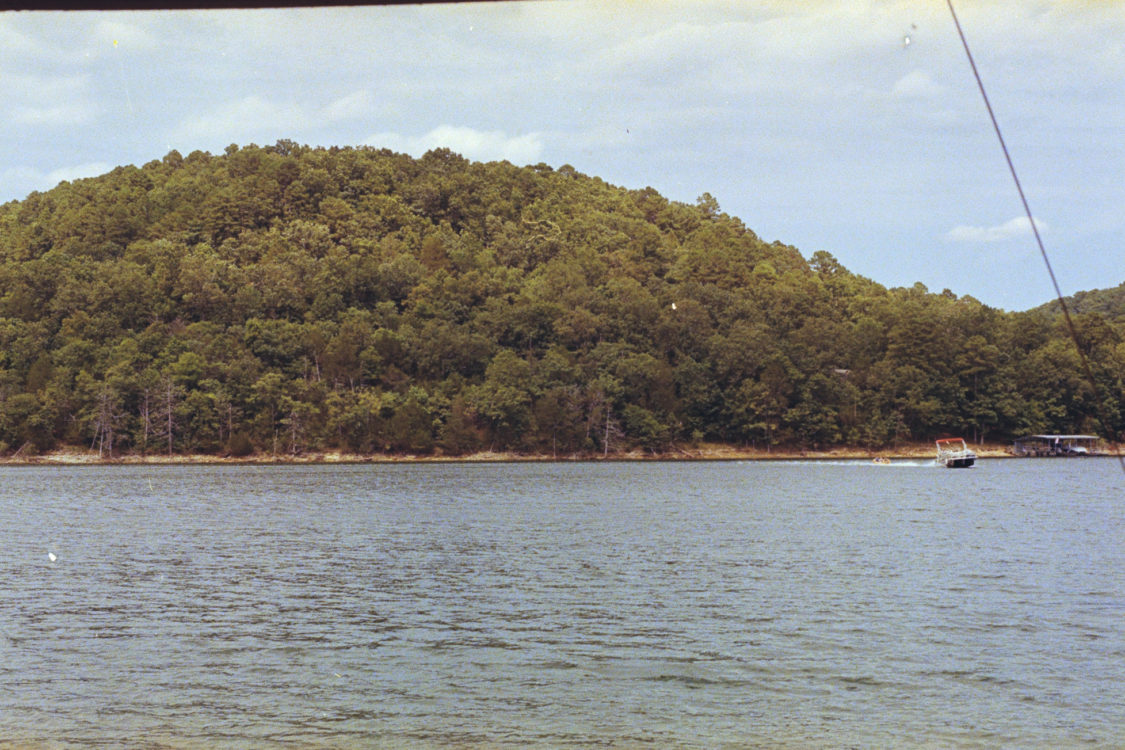

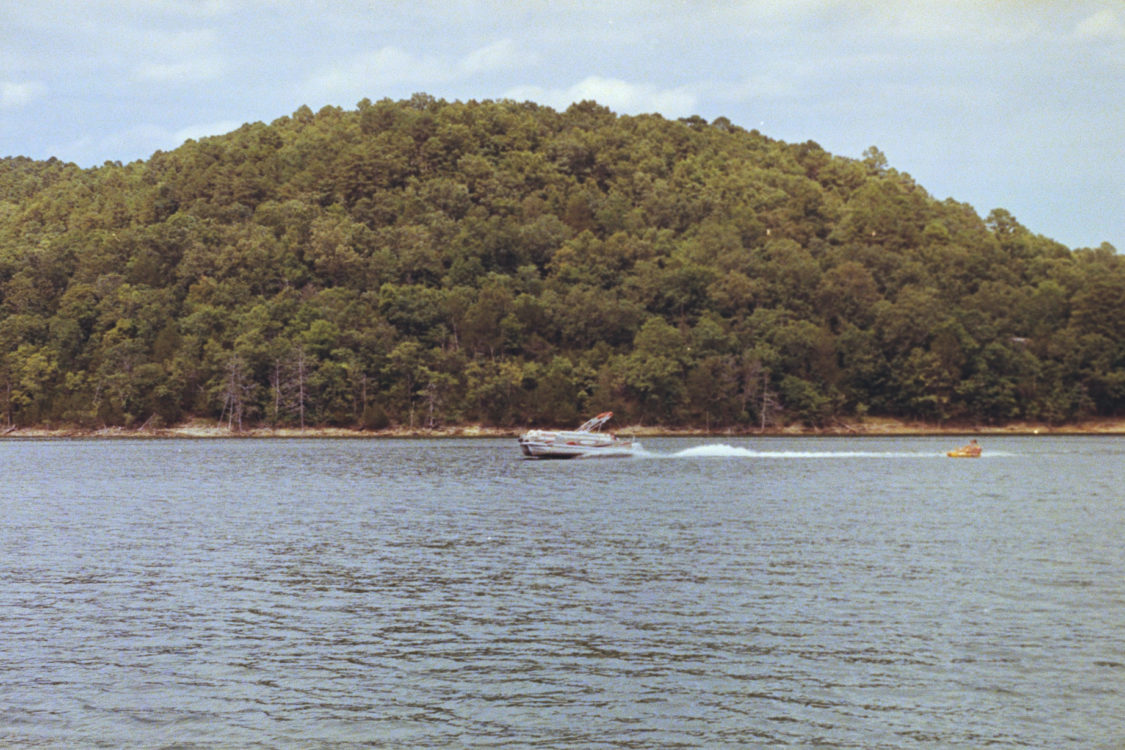
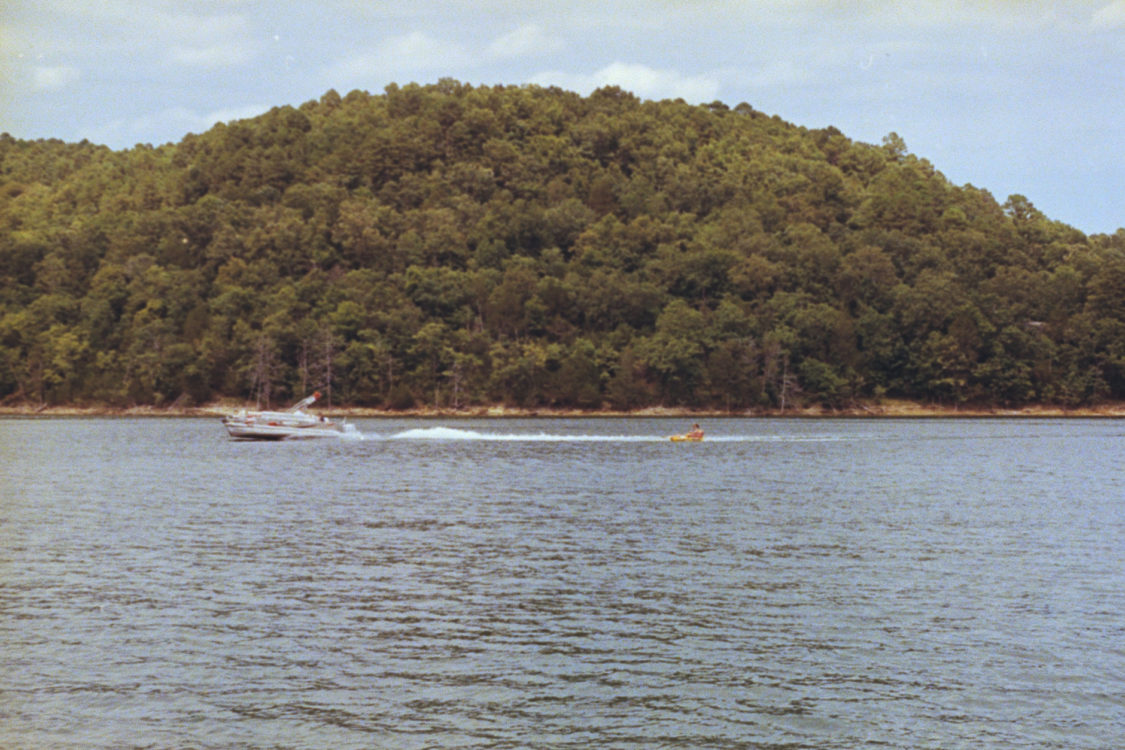
Now, compare to the original hour at Beaver Lake…
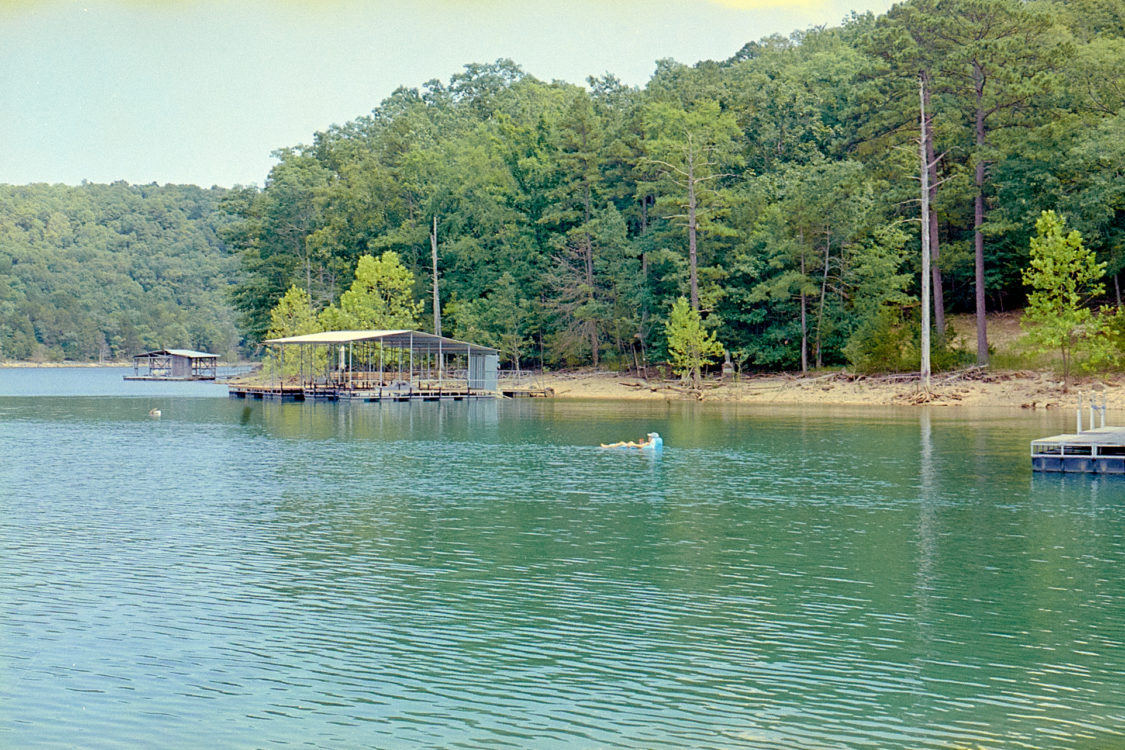
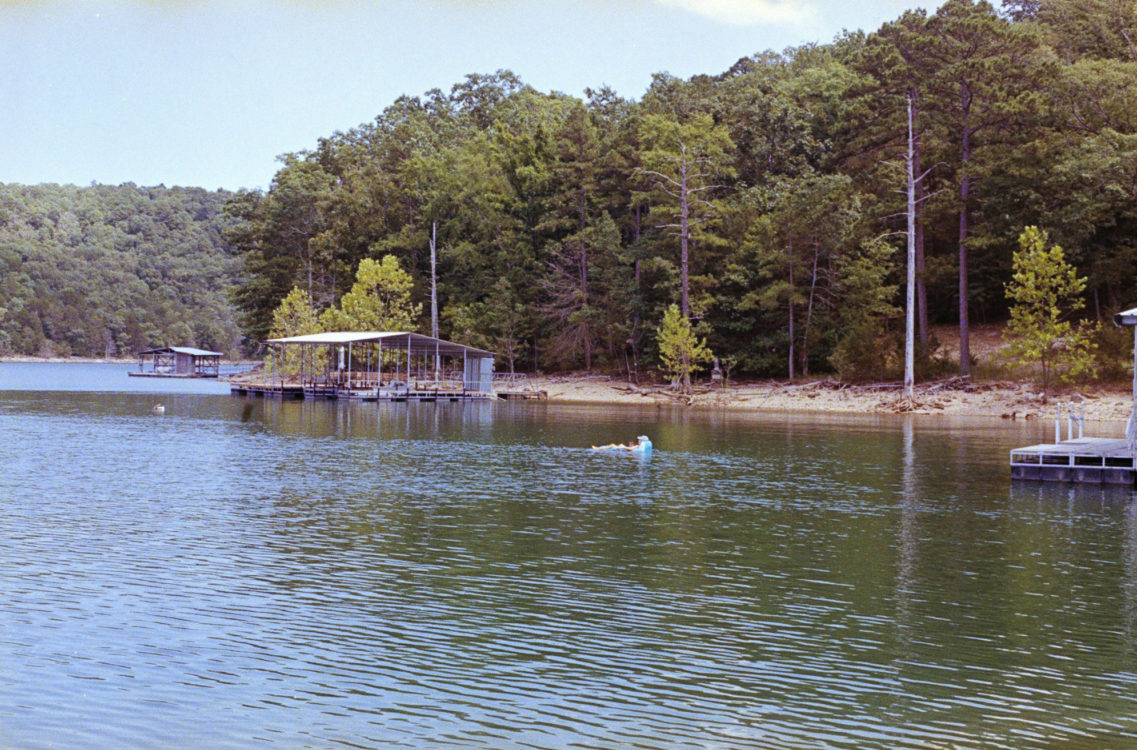
I honestly thought I got close with my original process. I honestly did. But looking at it now, well, Beaver Lake, being manmade, is more green than blue, but really, it’s more brown than green. And Arkansas trees in late summer are more of a foresty green than a kelly green… actually, most all forest trees are closer to brown than kelly green.
Yes, the FilmLab-converted scans might be slightly magenta and rather dark, for my taste and as compared to reality, but I’m not sure if that’s just my taste, or something in the film or the scan, or if it’s the baked-in curves and all in FilmLab. Whatever it is, it almost makes me want to go back and run everything I’ve ever scanned through FilmLab.
Almost.
I won’t… or probably not… But I will (and have) thrown some other scans at it, to see how it handles different stocks and all. It’s really pretty good, I think.
FilmLab isn’t (yet) perfect… it has a hard time with fancy films like Lomochrome Purple and films with a dense base fog. And it’s still in active development (as far as I understand) so we can hope for/expect changes and improvements. I’d like to see some values on the exposure, temp/tint, brightness, and contrast sliders. For exposure, maybe something that indicates stops; for temp/tent, something like proper values; for brightness and contrast, -100 to +100 or -50 to +50, whatever. A crop function and the ability to run a folder of images in batch would also be welcome, as would the ability to pass files directly from Capture One. (Currently, I can set FilmLab as a destination in the ‘Edit with’ panel, but nothing happens: Capture One exports a tiff and milliseconds later, the tiff returns, completely unchanged.)
But for general purposes, FilmLab is really pretty good, I think. After spending about a week messing with it, looking at other images and all, I’ll actually suggest that the one year rental subscription is probably the best option, for now. The full license price is just over 4 times that of a one year rental, and while I hope Mr. Fettig and his Develop&Fix group thrive and continue to develop FilmLab and expand their offerings, who knows what the next five years will bring, and subscriptions for small developers help keep an income stream going, so I see the appeal.
I have some more to say, and some weeds to get into, so stay tuned for that. Don’t worry: they’ll come pretty quick. And, in the mean time, go check out FilmLab. It’s really impressive software, and I look forward to fitting it into a new-and-improved scanning workflow in 2021.