Program: Raw Photo Processor (RPP)
Platforms Available Tested: Mac
Prices: free; a $10 or $15 donation gets you a Lightroom Plugin, some extra processing power, and other goodies.
Installation: usual dmg, drag app to Applications folder thing: easy.
RPP is quite limited in its toolset, but that just might be a good thing. It’s not meant to be an all-in-one DAM –> final print system. It’s more akin to a basic darkroom: it takes in RAW files and outs out universally readable file formats (16bit lab color tiffs by default).
Everything is done with numbers: there’s narry a slider in sight, and it encourages keyboard usage. This puts it in a class by itself.
And it’s the only one that can’t be used to flip a tone curve, because there is no tone curve. This also puts it in a class by itself, sorta, and that mean’s I can’t use it to convert negatives, so this is a different sort of review, and I hesitate to even include it in this series.
But as I did discover, download, and start playing with RPP while reviewing raw developers, I’ll go ahead with it. Test 1: Negative Conversion
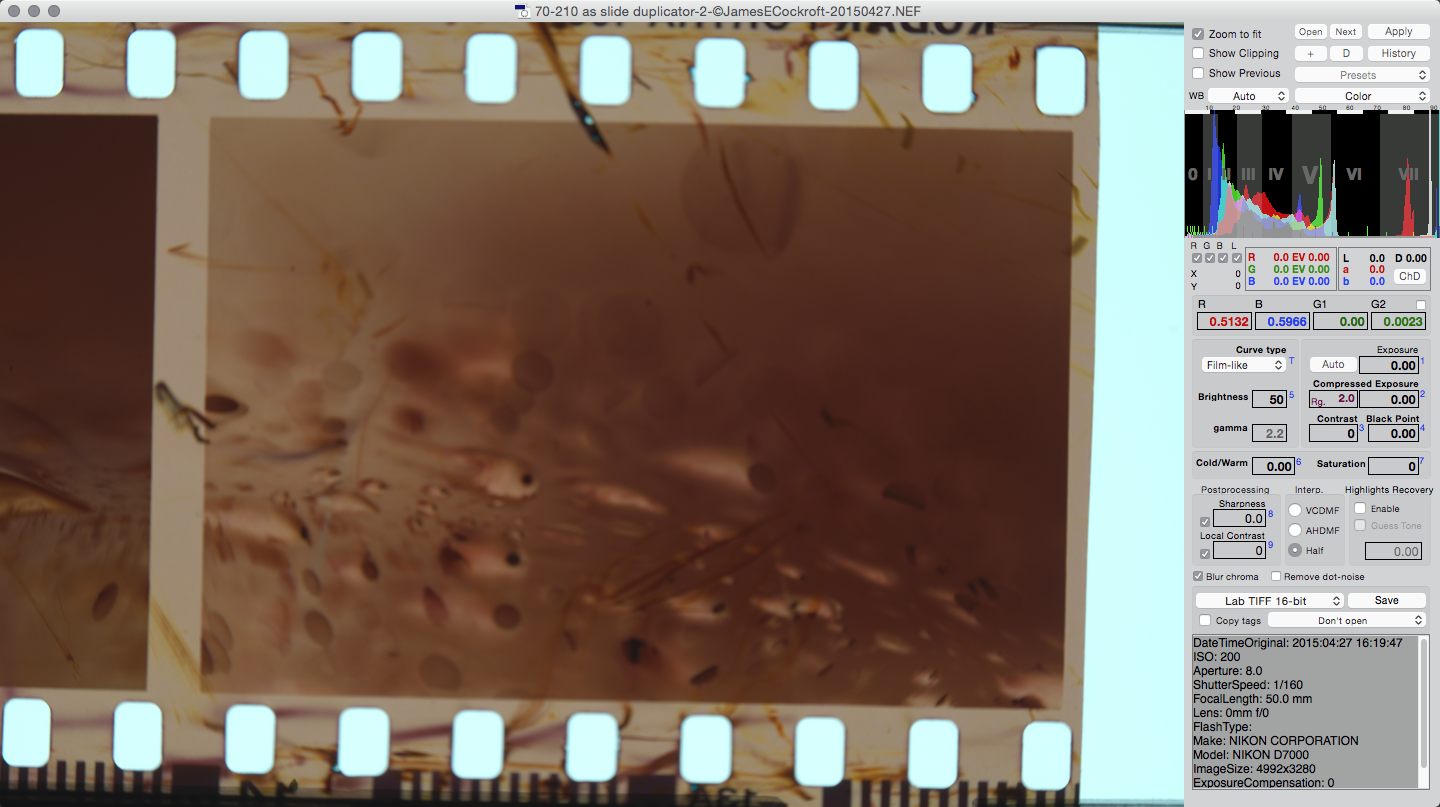
RPP doesn’t do it. It has no tone curve to flip, and I see no way of inverting the histogram or anything like that.
Test 2: ORFs
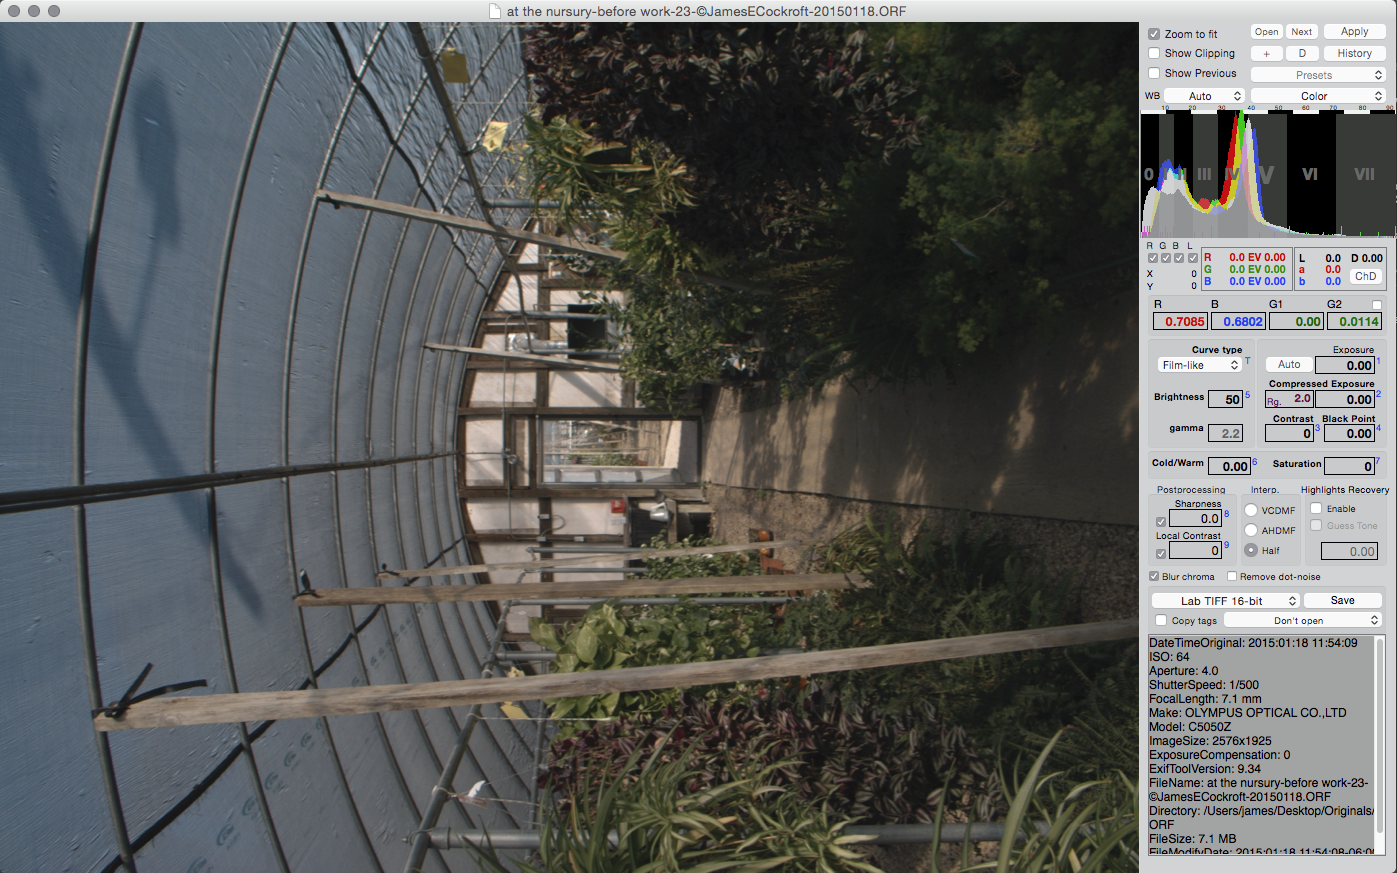
One thing to note about the C5050… it doesn’t know which way is up, so it can’t write that data to its ORFs. I noticed this in Lightroom and RawTherapee and darktable and every other app, but in all others, I just hit ⌘-R or ⌘-] and the image rotates.
But just like it doesn’t have a tone curve, RPP doesn’t rotate or flip or crop or any of that silliness. It only does one thing: it converts raw files.
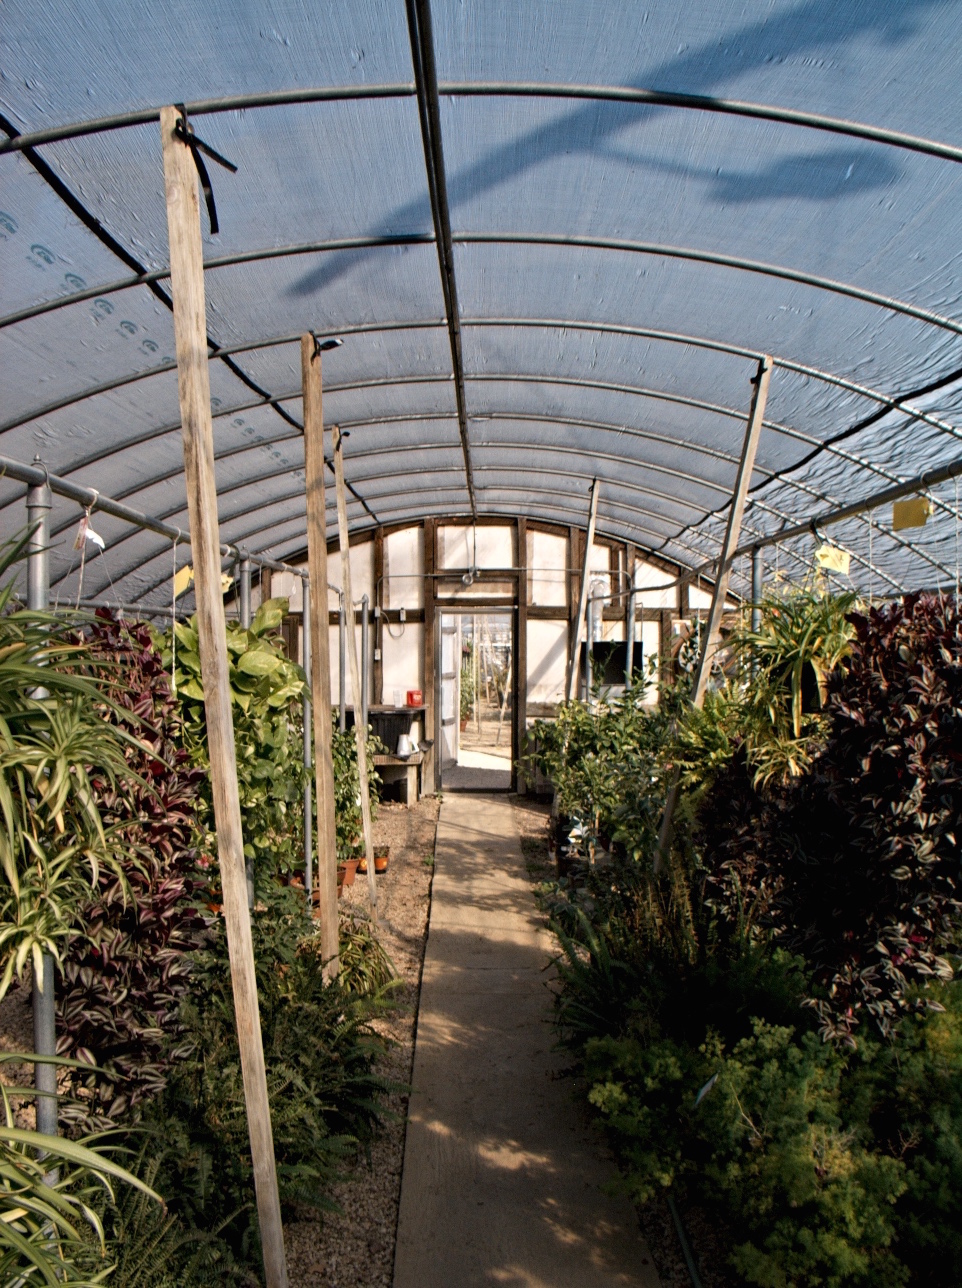
After some slight, numerical, adjustments an export as 95% srgb jpeg (and a rotation in Preview), I ended up with this:
Great! Except… that’s not quite the color I saw in the application.
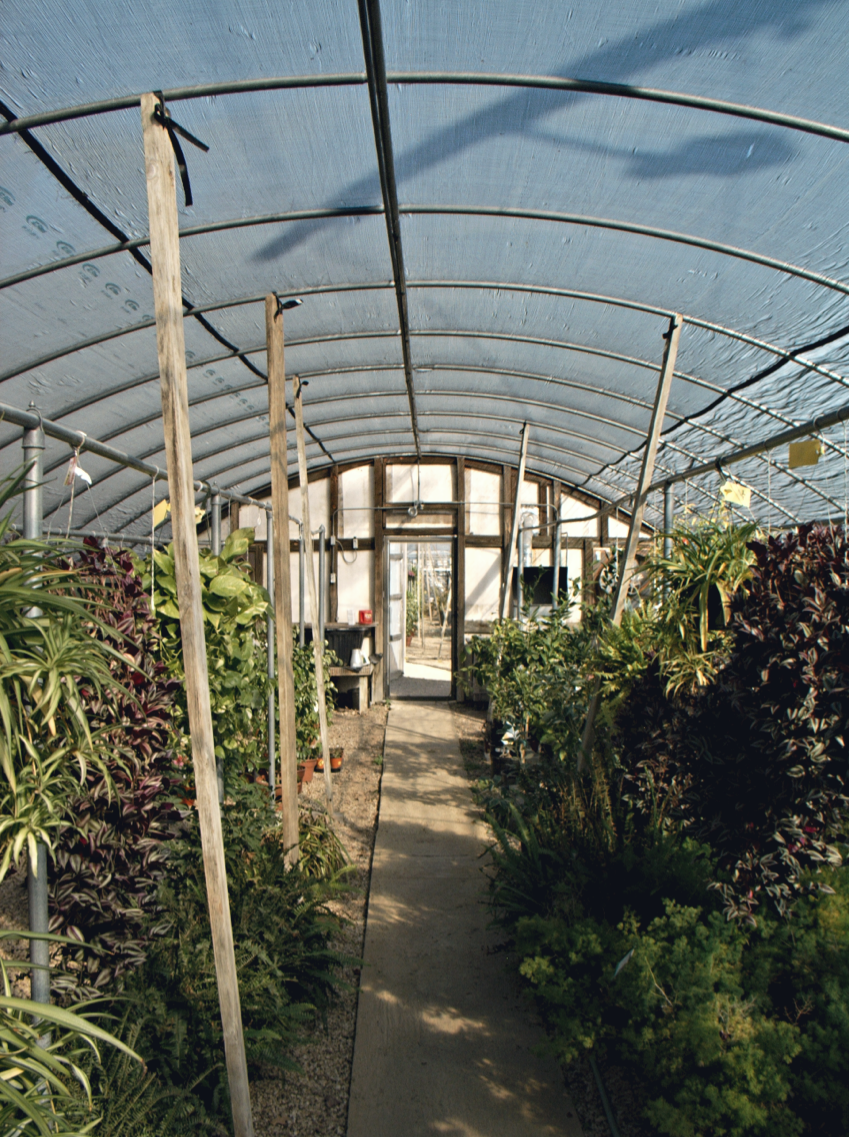
Let’s view those side by side:
The jpeg is on the left; the png screenshot is on the right. Admittedly, the jpeg looks a bit better to my eyes, but it’s definitely not the picture I produced (looking at it sideways and really unable to see what I was doing as a result). And that, my friends, is the cost of exporting to jpeg… Sorta like the cost of running pictures blindly through Lightroom, maybe.
Thankfully, RPP defaults to outputting 16bit floating point, LAB color tiffs, all ready for post work in some other app, or for doing whatever you want to do with it.
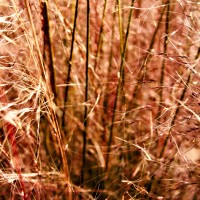
Beautiful! It’s different than what I got out of other applications, but no less, for sure. Here’s a few versions from different raw convertors:
Well… my taste has gotten warmer over the past few months… Maybe I overdid it a bit in RPP.But I think it did pull out a bit more detail in the little feathery hairs, especially compared to Lightroom.
Or is it just my imagination?
Test 3: NEF conversion
I managed to crash RPP while playing around with the local contrast… With the lack of sliders, I’ve converted to hovering over the number fields and scrolling, much like I did in darktable. Well, RPP’s local contrast goes up to 50, but for some reason it let me scroll to 99, where it put out a clean, if rather over-cooked preview. So I decided to see how far it would go and scrolled and scrolled till it finally stopped: at 295.
Well, I hit ⌘-r to Apply the adjustment (there’s no live preview in RPP, perhaps due to the floating point maths) and it crashed.
So 50 it is.
And that got a bit dark on export, I think…
The screenshot is much lighter, less saturated, less contrasty than the jpeg that Preview made from the original tiff.
That seems to be a theme… Twice now that the export has been contrastier than what I saw in RPP. I have no idea what’s going on there, but it’s annoying.
Not-quite Final Thoughts
From the RPP FAQ: “If you intend to post-process files after RPP (which is recommended by the way)…” This reveals something telling about the application, what its intended to do, etc.
It’s not a start-to-finish thing, as evidenced by the lack of crop and rotate, for example. So maybe that’s the problem I’m having: maybe I’m trying to do too much with it, and that’s why it’s spitting out overcooked pictures. I doubt it: surely you would want to post process files as you saw them in RPP, and not some further-processed file.
Anyway.
RPP is meant to give you a better starting point than what you’ll get out of ACR (Lightroom) or some other raw developer, and it does too: files start out darker, flatter, and sorta like what you get when you force Lightroom to use a flat tone curve on import.
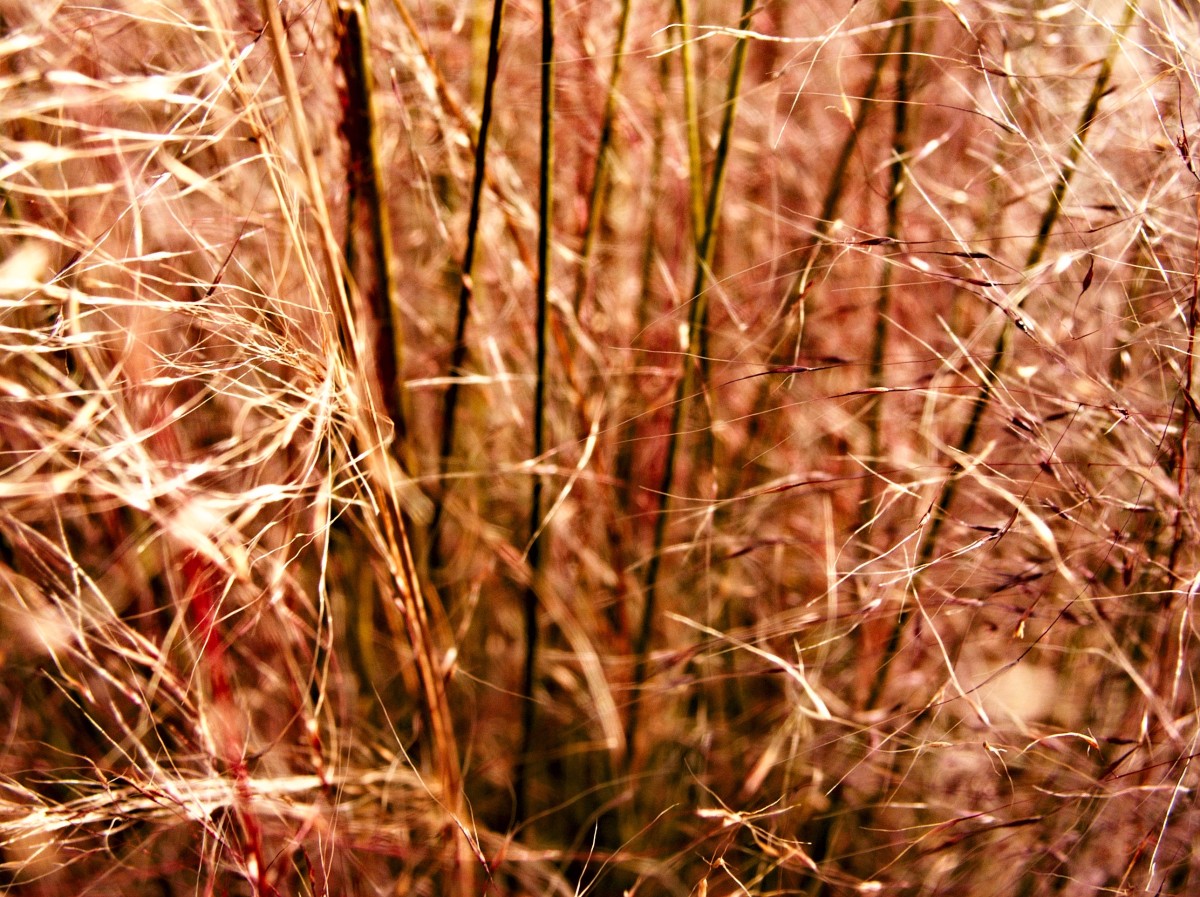
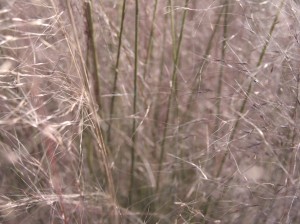
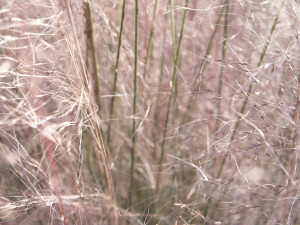
Here’s the original of the feathery grass shot, above, as imported into RPP, and with the flat tone curve dng that I used to test C1P.
The flat curve from the Lightroom-produced dng is brighter, overall, probably because it still included its brightness/contrast/blacks defaults, while RPP gave me what Olympus coded into its camera (or closer to it). As I’ve read in a couple of places, camera manufacturers generally code the camera to underexpose by a stop or so to avoid blowing out the highlights, since blown highlights are impossible to recover. Lightroom and others know this, and so they tend to push the exposure up in their profiles. This gives RPP an ability that other softwares lack: it just sees more in the raw data than ACR or other convertors.
In the left third of the image, for example, there are some highlights that have gone very nearly (or completely) blown in ACR’s “flat” tone curve, but remain grey in RPP. I can see this coming in handy, for sure.
So if you want to start out with the widest-open start point possible, here’s a potential workflow: open in RPP, export a 16 bit LAB color tiff to the raw processor of your choice, and post process from there. It’s probably not worth it for every image, but it sure sounds useful for some.
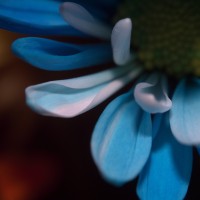
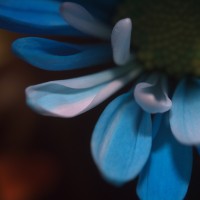
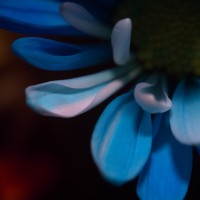
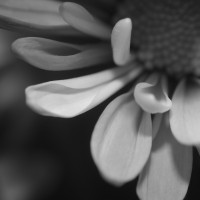
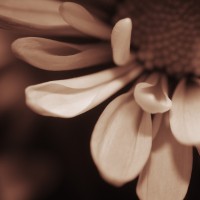
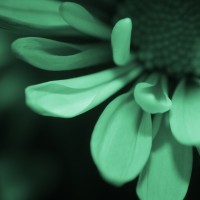
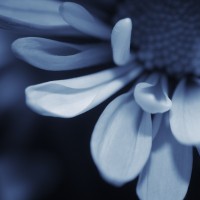
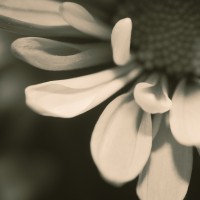
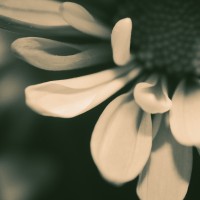
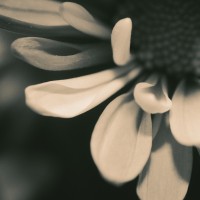
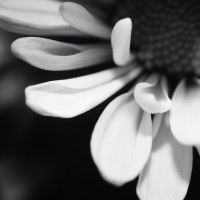
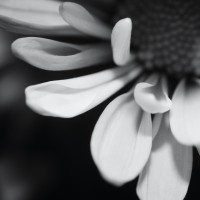
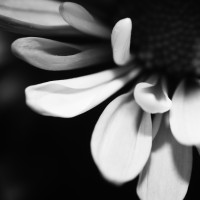
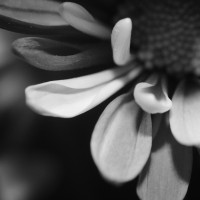
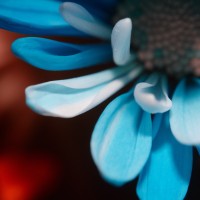
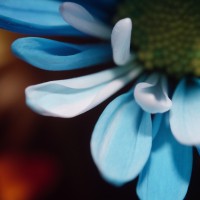
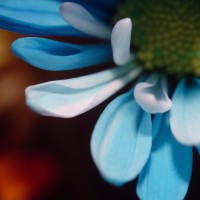
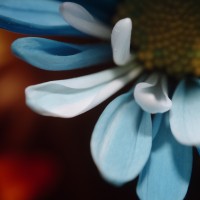
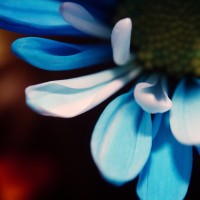
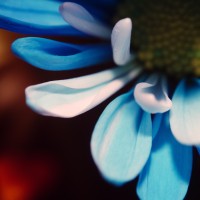
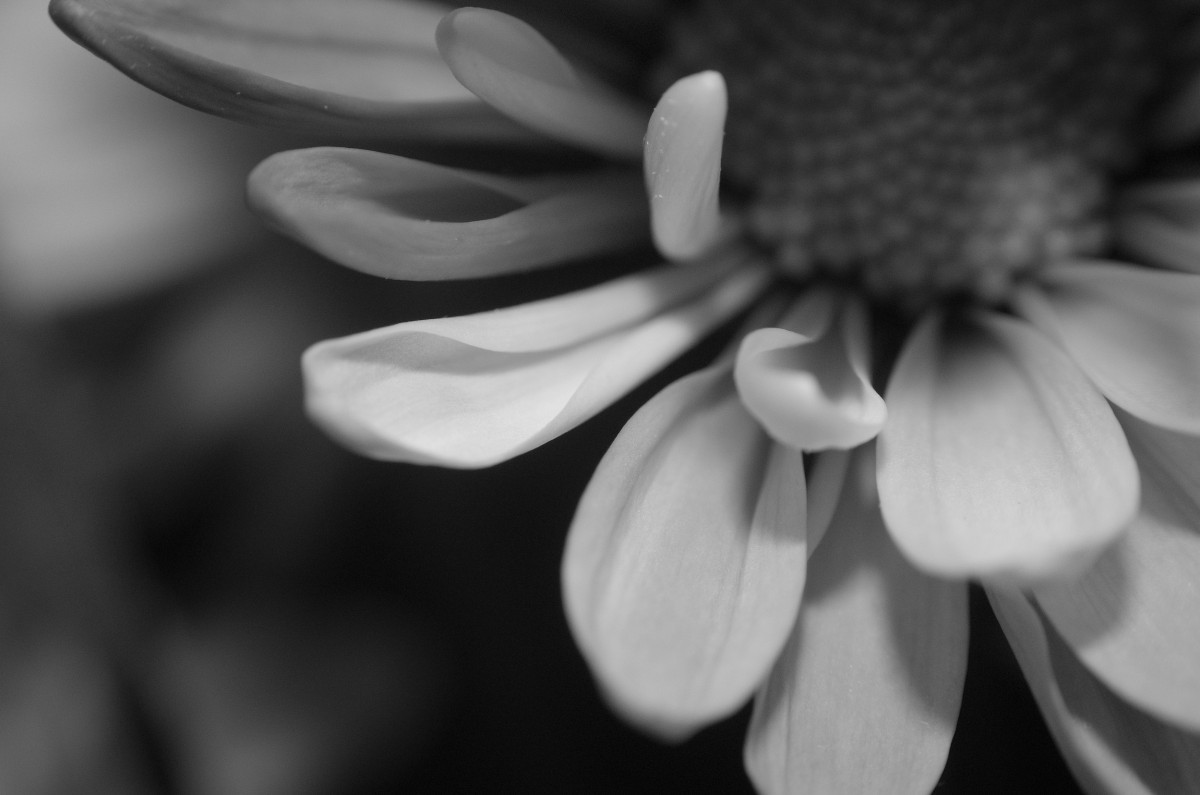
In addition to it’s flat reading, RPP has 4 curves built in, plus a number of paper and film simulation curves built-in. Just for fun, I did an initial process of this Crazy Daisy picture, and then exported one picture for every one of the built-in curves.
First, here are the four preset tone curves: Film-Like, L*, Gamma, and Colorimetric Gamma. With the Film-Like curve (the default), you’re limited to adjusting the brightness, the Gammas let you adjust the gamma, and the L* curve locks both the brightness and the gamma. (If you’re unclear on the difference/relationship between brightness and gamma, as I was, this stack exchange entry might be helpful.)
Here are the TruePaper Simulations: PhotoBrom B&W; Bromportret Sepia; Iodocont Green; Iodocont Blue; GF Lith Selenium-Gold; GF Lith Selenium; GF Lith Silver.
And lastly, the TrueFilm Simulations: A25 B&W; P50 B&W; KL25 B&W; TP25 B&W; Duo; P160NC; A100F; K64; K64 PW; V50; V50 v2; TC4; TC4 v2; LF; and LF v2. (If you’d like to know what all those codes are for, Pavel Kosenko lists them at the end of item 8, about a third of the way down the page, and just before item 9.)
In addition, there’s a Color (default) preset and a Lightness (Lab) preset… whew! so many!
That last one is a little bland on its own, but could make a good starting point for a nice B/W version of the Crazy Daisy; some of the film simulations might be good ending points for some images. So maybe RPP isn’t just for pre-processing.
Final Thoughts
I’m glad I found RPP. And since I’m glad I found RPP, I’m glad I read those 400 or so comments on that DPReview article about whatever-it-was, as without that, I might never have come across RPP at all. As it is, it’ll remain in my Applications folder, unlike most of the other Raw converters I’ve looked at, and despite the strange darker-than-advertised exports I experienced. I’d very much like to figure out what causes that so I can stop it.
For more about RPP, Pavel Kosenko has a nice how-to for beginner RPPers on his blog that’s worth a read, for sure, and William Porter has a somewhat more thorough discussion.
And coming soon, if I can ever get it finished, a review—maybe the last of this series—of DxO Optics Pro. Thanks to Franz Metcalf’s comment on my C1P review for pushing me, since I had no plans to test DxO at all.
